Friday, January 12, 2018

Bread & Butter Pudding


My deepest apologies for being away from my blog for 18 months! I have no excuse. I guess I just felt no inspiration, no motivation to experiment in my kitchen. I have still been baking - creating macarons and birthday cakes and cakepops; but I hadn't created anything new.

The past 18 months have been filled with takeaway dinners (many courtesy of Menulog), pasta with sauce from a jar and many a frozen meal.

This new year, I made a resolution to get back into posting on my blog. After all, creating meals always used to bring me so much joy and was great stress relief!

This week, I actually planned a meal and after staring at the pantry and fridge, I decided to put together a dessert using what I had. I decided to ease back into food blogging with something simple - bread and butter pudding!


It's basically baked French toast - so technically you could have it for breakfast too, right? Right!??!! I am not a fan of sultanas in baking so I didn't put any in.

Bread & Butter Pudding
I had half a loaf of stale white bread which filled up my baking dish
Preheat the oven to 160 C (fan-forced) then butter both sides of each slice of bread.
I used salted butter for added flavour. You'll want to cut some slices to fill gaps as you layer the dish.
I am not fussy and do not have OCD by any means, so my layering is uneven and messy - it'll make no difference once it's all congealed and baked anyway!
Where people normally sprinkle sultanas - I sprinkled brown sugar! Mmmmm so tasty.
Just keep layering buttered bread and brown sugar until you reach the top of the dish.
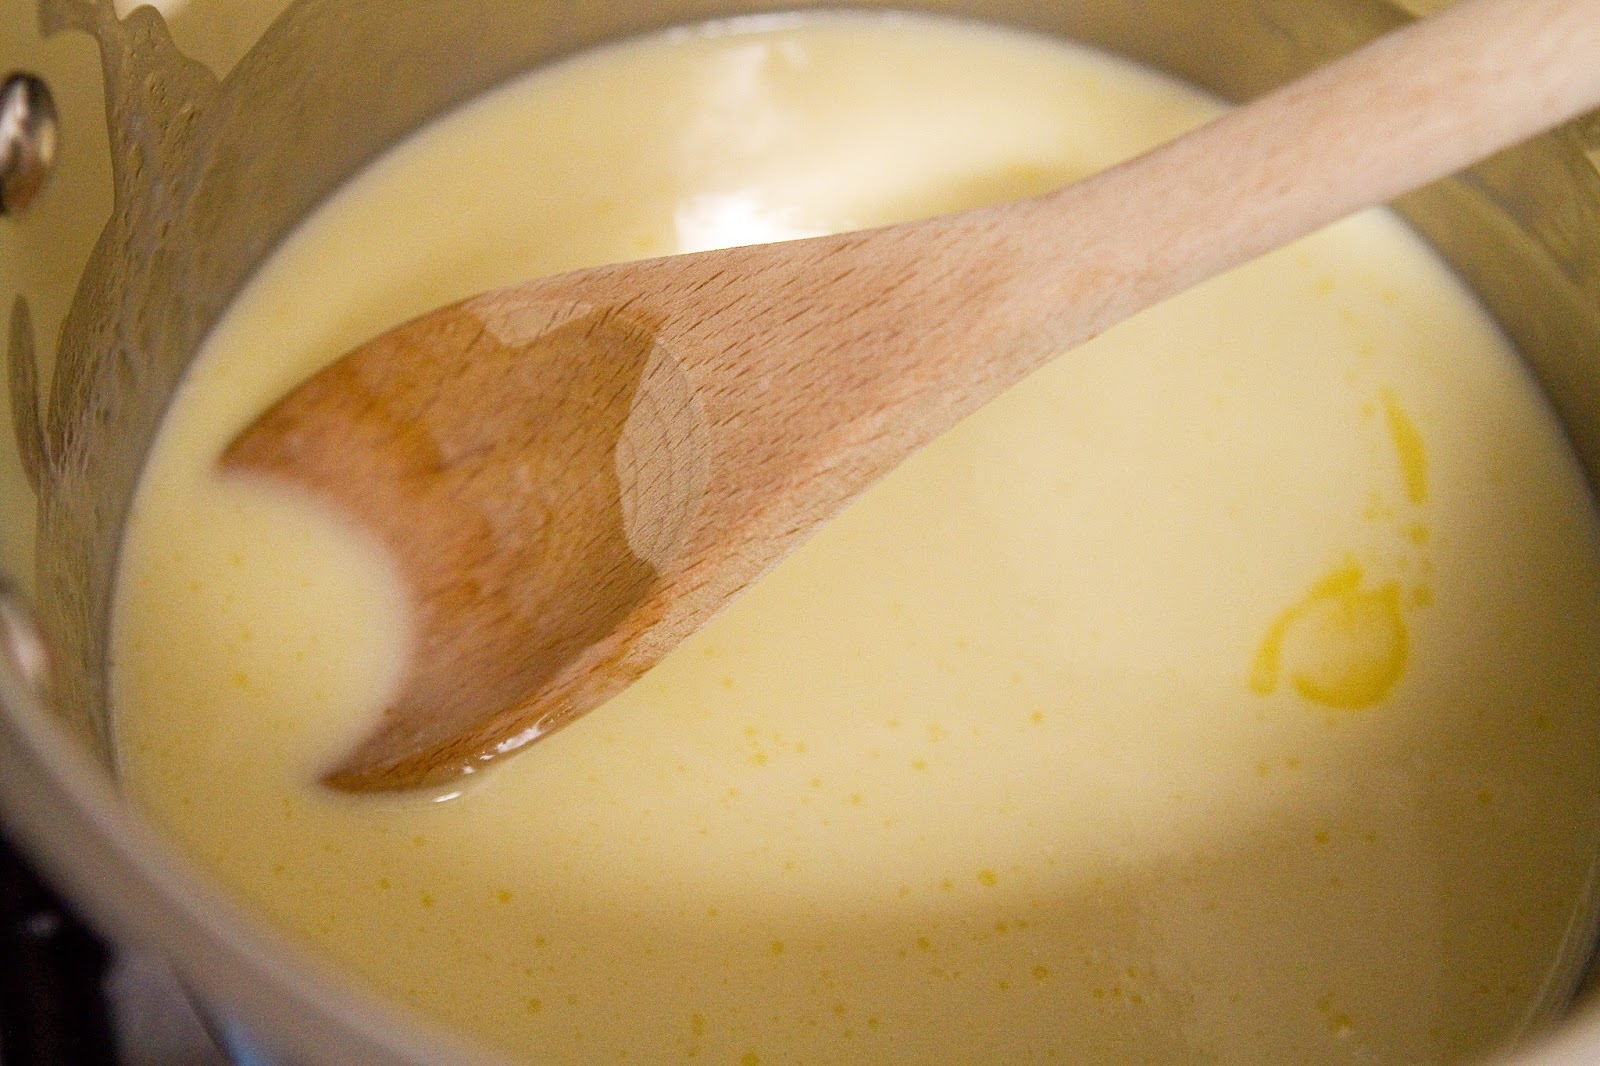
To make the liquid part, mix up 4 eggs with 2 cups of milk and 1/2 a cup of caster sugar.
For a richer pudding, replace half or more of the milk with cream!
You may require more or less milk depending on how big your dish is. The liquid needs to reach the top layer of bread.
Add whichever flavours you like - I added a dash of Bailey's and some cinnamon.
You could also add vanilla, nutmeg, cardamom, orange or lemon rind - so many possibilities!
Carefully pour the liquid mixture over your bread layers. I used a ladle to help prevent spilling.
Leave for 1 hour to sit and allow the bread to absorb the liquid.
Bake uncovered until the liquid dries up and the top is golden brown - it took about 45 minutes for mine.
Best enjoyed while hot, with cream or ice cream!

Saturday, July 30, 2016

Quiet Night In

I'm not even going to lie. I am spending this evening alone, sitting in extremely unflattering tights and a daggy jumper, eating Nutella straight out of the jar.

I also realise I have not done any recipe testing for a while. I have still been baking though! If you follow my instagram feed (here) you will be updated on things I create and take pictures of. So here are some highlights from the past few months:

Chocolate Cake with Raspberry Buttercream and Angry Tiny Teddies
My husband had to go to England and France for 2 weeks and I was so thrilled about his return, that I made him this welcome home cake!

Macarons
Paul brought me home some Silpat macaron sheets from Paris. He also got me a HUGE Silpat sheet with a HUGE baking tray to go with it! Unfortunately we discovered they were literally 5mm too wide for my oven :( 

I have been trying the small ones though. I love them! I may just save money and the environment, no longer needing baking paper! One warning about silpats though - they are a magnet for pet hair!

More Birthday Cakes

Choux Pastry
I didn't photograph the éclairs - no amount of food styling could hide their deformities! I am hoping to practise my technique in making choux pastry. Once I have a foolproof method, I hope to post the recipe. Please leave a comment if you have any hints or tips!

I put sprinkles on top of the profiteroles. I'll let you in on a secret - when I use sprinkles, I'm usually hiding something ugly ;)


Friday, June 10, 2016

Coconut and Lime Cake

No special story behind this cake. Today I wanted to make a little cake so I stood in the pantry and stared. Then I opened the fridge. Closed the fridge. Stared in the pantry. Opened the fridge. And thus, a cake was born. I always aim to make little desserts - to prevent myself from eating family sized cakes on my own!

COCONUT & LIME CAKE
Gently melt together:
- 1/2 a can of coconut cream
- 1/2 a can of sweetened condensed milk 
- 75g of butter
Set aside to cool then add 1 egg and a bit less than 1 cup of self-raising flour.
My 3 layers of mini cakes took 17 minutes to bake at 160 C.
Take care not to overcook it as you want to keep the cake moist.
To frost, you can find the buttercream recipe here.
I scaled it down to 2 egg whites, 1/2 cup of sugar and 125g butter.
I added the juice of 1 lime instead of the melted chocolate.


Chocolate Cupcakes

With all the crazy, magnificent cakes and desserts social media present to us (think of fully loaded Nutella doughnut shakes; cakes with shimmering shards of chocolate bark, meringue kisses, ganache AND gold leaf), I sometimes find myself overwhelmed and I look for relief in something simple. Crêpes with lemon and sugar. Scones with cream and jam. Chocolate chip cookies. Pudding with butterscotch sauce. So I decided to create simple chocolate cupcakes with chocolate icing. I even held back on the glitter and confetti.

CHOCOLATE CUPCAKES
Sift 3/4 cup of self-raising flour and 1/4 cup dutch cocoa and set aside.
Into a double boiler: 200g chopped butter, 100g dark chocolate, 1 cup of caster sugar and 1/4 cup espresso.
I used Cadbury's 70% Old Gold for this recipe
Stir until dissolved, then set aside to cool.
Add 4 eggs and gently combine. Fold in your dry ingredients and mix until smooth.
I made mini cupcakes as I feel the icing to cake ratio is much more appropriate.
Plus you can remain ladylike whilst eating, without ruining your lippy too much.
These tiny cakes took a mere 9-10 minutes at 160 C, but do check with a skewer.
This batch produced 30+ mini cupcakes (I lost count once I started eating).

CHOCOLATE BUTTERCREAM
The detailed recipe with pictures can be found here.
To make just enough frosting for these mini cakes (and my mouth at the end) I used:
- 2 egg whites
- 1/2 cup caster sugar
- 1/2 block soft, unsalted butter
- 50g melted dark chocolate
Whisk the eggwhites and sugar in a double boiler until the sugar is dissolved.
Transfer to a stand mixer and whip on high speed for about 10 minutes.
Once the bowl feels cool, add your soft butter a cube at a time.
Drizzle in your cool, melted chocolate.

Saturday, June 04, 2016

Jam Drops

I have a bad habit of hoarding jam jars - I get enchanted by the flavour and the pretty jar it's in, buy it, use it once or twice, forget about it. Rinse and repeat. 8 half full jars later, I think I have a problem. Having lots of toast can get tiring, so I found another solution - jam drops. The jars I had to use up included: strawberry conserve, cherry conserve, orange marmalade and lemon curd. They're made from fruit so it must be healthy, right?


Here are a few tips for making these biscuits, which I learned from my mistakes:
1. Don't whip the butter and sugar for too long. This is fine for making airy cakes that you want to rise, but when I did that for these cookies, it made them spread out too far and thin. Mix the ingredients until JUST combined.
2. Plain flour. I tried them with self-raising flour the first time, but again, they just ended up spreading out thinly and making a mess.
3. Refrigerate. I was really determined to prevent thinly spreading cookies, so after forming the shapes, I popped the trays into the fridge for about half an hour with the belief that it will keep the dough firm in the oven! They did spread a little bit, but nothing like the first attempts.

JAM DROPS
Combine 1.5 cups plain flour and 1/2 cup dessicated coconut.
 Beat together 1/2 a block of unsalted butter and 1/2 a cup of caster sugar.
Add 1 egg and a generous tablespoon of vanilla extract.
Spoon in the flour mixture, beating on low speed until just combined.
Measure out balls with a big heaped teaspoon - I managed 30.
 Flatten the balls with your palm then using your thumb or a knuckle, create an indent for the jam.
 Spoon in your preserves then pop the trays into the fridge for at least 30 minutes.
Bake at 180C for 10-12 minutes (whenever the edges start to brown).


Saturday, March 26, 2016

Hot Cross Buns

Other than a song we all learn to play on the recorder in primary school, hot cross buns are a staple on almost every Easter breakfast table. It's basically raisin toast in bun form, with a flour paste cross on top! They're pretty easy to make if you have a couple of hours, and you must have them hot with butter. They are called HOT cross buns after all! Have a happy Easter!

HOT CROSS BUNS
Place the dry ingredients into your mixer:
- 3 cups plain flour
- 1 cup raisins
- 2 tbsp sugar
- 2 tsp dry yeast
- 1 tsp salt
- 1 tsp each of cinnamon, nutmeg and all-spice
Slowly mix in 50g melted butter, 1 cup of warm milk and 1 beaten egg
Knead for 10 minutes
Place the dough in a greased bowl, covered in cling wrap
Leave in a warm place to rise for about 1 hour
Knead again, then shape into equal sized buns - I made about 10
Place dough balls onto a greased baking tray and cover in cling wrap
Leave in a warm place to rise for about half an hour
Pipe crosses onto the buns with a paste of 1/3 cup flour and enough water to make a paste
Bake at 190C for 20 minutes

To make the glaze bring 1/4 cup sugar in 1/4 cup water to the boil
Brush over the buns fresh from the oven

Tuesday, March 15, 2016

My Cousin's Baby Shower

What a gorgeous day this was - albeit a hot one! I've only been to a few baby showers, so I'm no expert, but this one was simply beautiful. It was a Pinterest dream come to fruition! To coordinate with the day's palette (and to celebrate a little man on his way), I created baby blue, chocolate brown, and white macarons.
Candid capture of me doing what I do best!