Sunday, March 29, 2015

Cinnamon Rolls

I love cinnamon. It makes me feel warm and fuzzy, and smelling it reminds me of Christmas. Chai tea, apple pies... I love sprinkling cinnamon and sugar onto buttered bread and grilling it. Try it, you'll love it. I have even used apple & cinnamon flavoured fluoride at work!

These rolls are easy to make, although it can be a bit time consuming waiting for dough to rise. This recipe is perfect for weekends and days off, especially now that the mornings are getting cooler.

CINNAMON ROLLS
Into your stand mixer bowl add 3.5 cups plain flour, 1/4 cup caster sugar and a big pinch of salt.
In a small saucepan heat 300ml milk to 40 degrees (use a thermometer!)
Remove from heat then add 2 teaspoons of instant yeast, 1 egg and 50g of cooled, melted butter.
Using the dough hook, turn the mixer on and slowly pour in the wet ingredients.
Mix on medium speed until it comes together on the hook.
I found that it was a bit wet so I sprinkled more flour in accordingly.
Place the dough into a greased bowl, cover with cling wrap and leave to rise for 2 hours.
It will double in size.
Melt 1/2 a block of butter in a saucepan and set aside. You'll need it later for the sticky syrup.
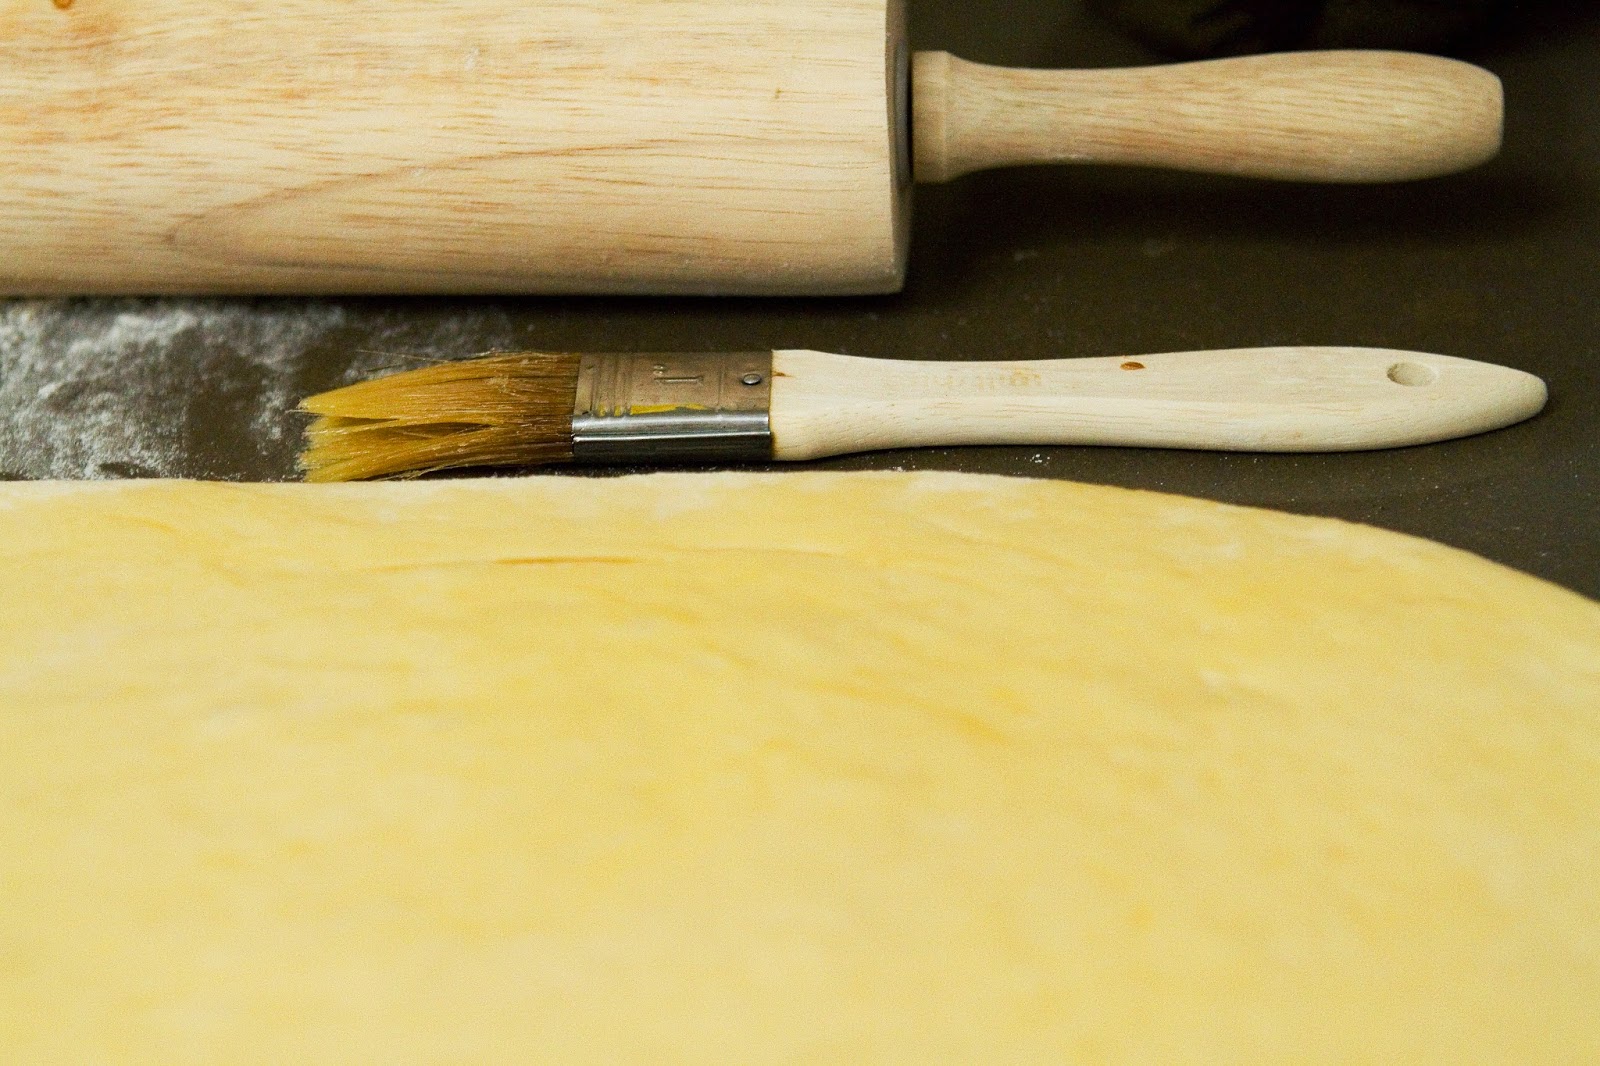
Turn dough out onto a floured surface and roll out into a long rectangle.
Brush all over with some of the melted butter.
Sprinkle all over with a mix of 2/3 cup brown sugar and 1 tablespoon of cinnamon.
Caaaaaaarefully roll the dough like a scroll and pinch the edges to seal.
Use a sharp knife to slice into rolls.

To make the syrup, add 1 cup brown sugar and 1/2 cup maple syrup to the melted butter and stir over low heat until dissolved.
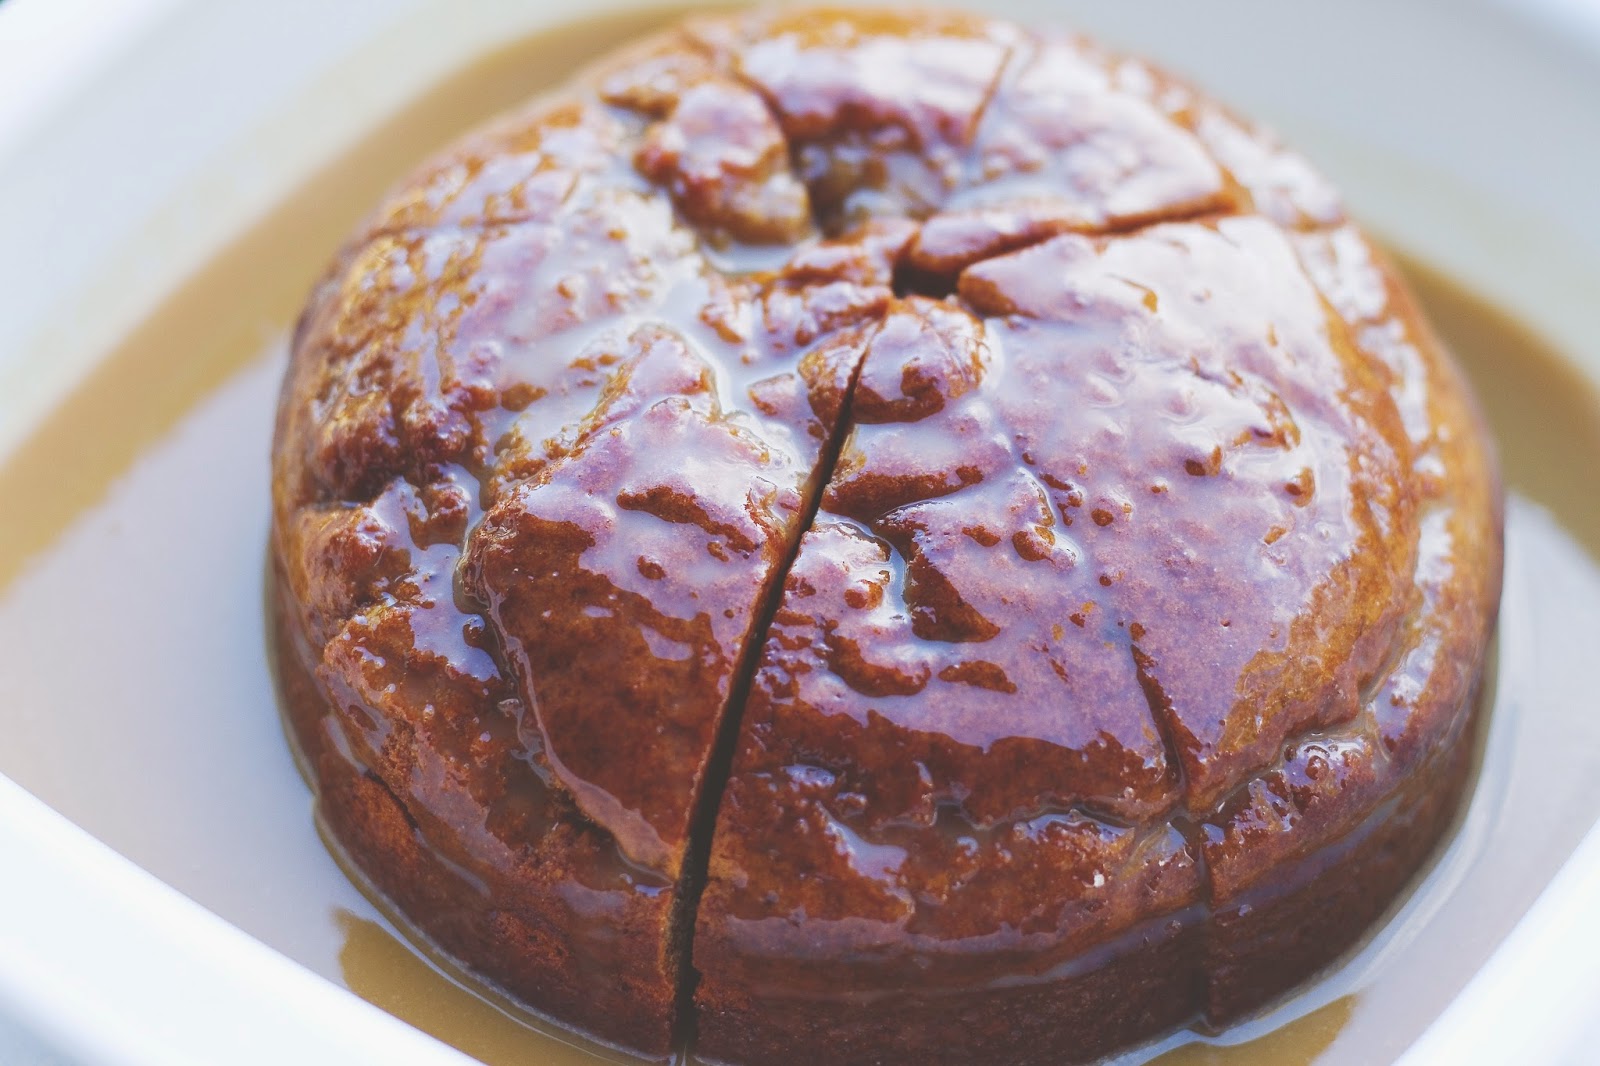
Arrange rolls in a baking tin or dish filled with syrup.
Cover in cling wrap once more and allow to rise for 1 hour.
Bake at 160C for 30-40 minutes, until lightly golden.
The bigger your rolls are, the longer they will take to bake.

Allow to cool slightly in the tin, then flip the entire thing onto a serving platter or board.
(Best to do this when the rolls are still warm!)

Thursday, February 19, 2015

Chocolate Crème Brûlée

You may remember my Valentine's Day post from 2013, that I wanted to make a tradition of cooking my husband something every February 14th. That year I made a chocolate cake, 2014 was a chocolate hazelnut cake. So this year I asked him to pick which chocolate dessert he would like. He picked crème brûlée. I have portioned this recipe to serve a romantic dinner for 2!

Chocolate Crème Brûlée
Whisk together 2 egg yolks with 20g of caster sugar until the bright orange turns pale and thick.
In a saucepan, heat 1/4 cup milk and 1/4 cup cream until just simmering then remove from heat.
Stir in 50g chopped dark chocolate.
Combine the chocolate cream mix with the egg yolks.
Pour into ramekins, then bake in a bain marie at 95 C for about 35 minutes.
The top should be set to touch, but there should still be a wobble.
Refrigerate for at least 1 hour.
To serve, sprinkle the tops with caster sugar and torch gently to caramelise.

Saturday, February 14, 2015

Sticky Date Pudding

The simplest things in life make me feel so happy. A sunny day after weeks of rain. Climbing into bed when the sheets are freshly washed. Teddy bouncing around with excitement when I get home from work. Comfort food.

There's one dessert that is so simple, fast and easy to make, and it's always a winner at every table I serve it to.

STICKY DATE PUDDING
Place 200g pitted dates in a bowl and sprinkle over 1 teaspoon of baking soda.
Pour over 1 cup of boiling water and let stand for about 15 minutes.
Place into a blender and whizz until smooshed.

Beat together 1/4 cup soft butter with 1/2 cup caster sugar until light and fluffy.
Beat in 2 eggs, one at a time.
Alternate the addition of your smooshed dates with 1 1/3 cups of self raising flour.
Fold gently to combine, then scrape into a greased springform pan.
Bake at 160 C for about 35 minutes (until a skewer comes out clean).

Caramel Sauce
And now for the best part - the sticky part!
Place 100g chopped butter, 1 cup brown sugar and 1 cup cream in a saucepan.
Stir over low heat until dissolved.
(Sometimes I like to add a pinch of sea salt to taste!)

To serve, place a nice big slice in a bowl, pour the hot sauce over, and top with either a dollop of whipped cream or better yet, vanilla ice cream :)

Tuesday, January 20, 2015

Tomah Gardens Restaurant

After my birthday morning tea, my hubby took me for a late, lazy lunch which made for a beautiful afternoon. A warm ear-popping drive brought us up to Mount Tomah Botanical Gardens. I sat back and relaxed, sipped the house-made lemonade and took in the stunning vista of mountains, valleys, blue sky and greenery as far as the eye can see.

We shared a beef brisket pie and lamb chops. The chops were cooked perfectly! (I have mine on the rare side - the way it should be). I could have easily cleaned up a second plate. The chocolate orange mousse cake for dessert was absolutely to die for!


Sunday, January 18, 2015

Thirty!!

Sorry for the lack of posts so far this new year - work has actually been busy, and by the time I do my house chores I'm too tired to put together anything more complicated than Easy Mac.

I did however host a little morning tea for my birthday! I never do anything big for my birthday but I thought I should for 30. It was so wonderful to share my day with my friends. Although it was the middle of summer and 40 degrees, the beautiful bouquets I received made it feel like spring time :)

So without further ado, here are some pictures of my fabulous morning!

White Chocolate Mudcake made by me!
It isn't morning tea without making scones with cream and jam!
Gingerbread and Nutella Macarons

Friday, January 02, 2015

Coconut Cake

It is a new year and what a hot week we're having! It's been so nice to actually see the sun after so many storms I'd gotten used to the past month. So best to enjoy summer with sun, sea air and tropical fruit! Thankfully, this recipe (which doesn't actually feature any fresh fruit!) allows you to enjoy coconut all year round.

COCONUT CAKE
Preheat oven to 160C. Beat together 1/2 a block of butter with 1 cup sugar.
Beat in 2 eggs, followed by a teaspoon of an ingredient you should keep in your pantry - coconut essence.
This stuff instantly cocofies any dish!
Alternate between adding 1.5 cups self-raising flour and 2/3 of a 270ml can of coconut cream.
(Make sure it's cream, not milk)
Sprinkle in 1 cup of dessicated coconut.
Divide between 2 round cake tins and bake for about 45 minutes (when a skewer comes out clean)

When the cakes are cool, put together the frosting.

Coconut Buttercream
Beat together an entire 250g block of butter with 4 cups icing sugar.
Add another dash of coconut essence, and a good splash from the remaining coconut cream.
Mix in 1/2 cup dessicated coconut.
When the cakes are completely cool, sandwich together with 1/3 of the icing.
Smear all over with the remaining icing and spread gently, taking care not to drag the cake surface. Finish off with a generous sprinkling of dessicated coconut.

Monday, December 29, 2014

Christmas 2014

Just a quick post to describe what I baked this Christmas. I made my giveaway jars again (they must think I go through so much Moccona instant coffee - it's from work!) and this year I filled them with 3 different treats.

Gingerbread in holly and snowflake shapes. I made them last Halloween and you can find the recipe for it here.

Macarons - coffee with chocolate ganache, strawberry with strawberry cream cheese

Traditionally, Filipinos celebrate Christmas on Christmas Eve with a feast known as "Noche Buena" (literally means "good evening/night") where we eat, drink, optional karaoke is involved and everyone must wait till midnight to open their presents.
My Dad and I handing out everyone's gifts at midnight
(picture from my Dad's camera)
We gave Teddy his presents to open on Christmas morning. He was happy!