Thursday, March 10, 2016

Flourless Chocolate Cake

I always have almond meal in my pantry - mainly for making macarons. As you know, almond meal isn't the cheapest ingredient, so I tend to buy more if it's on sale!

When used in cakes, almond meal gives you the most beautiful, moist, chewy texture. I've even forgotten about the time and been late to check on an almond meal cake in the oven, to find that it still turned out beautifully juicy inside. Because it doesn't behave like flour, the secret to achieving airy lightness is all in the eggs.

I was so fortunate to acquire 2 extra mixing bowls for my KitchenAid at my last birthday. They have certainly been so useful for cakes such as these which need different components whipped (such as egg yolks and whites).


FLOURLESS CHOCOLATE CAKE
In a medium saucepan add 200g chopped butter, 200g chopped dark chocolate and 1/4 cup strong black coffee.
Stir constantly over low heat until melted then immediately transfer to a bowl to cool.
Do not be tempted to turn the heat up, and make sure you keep the mixture moving, to prevent the chocolate splitting.

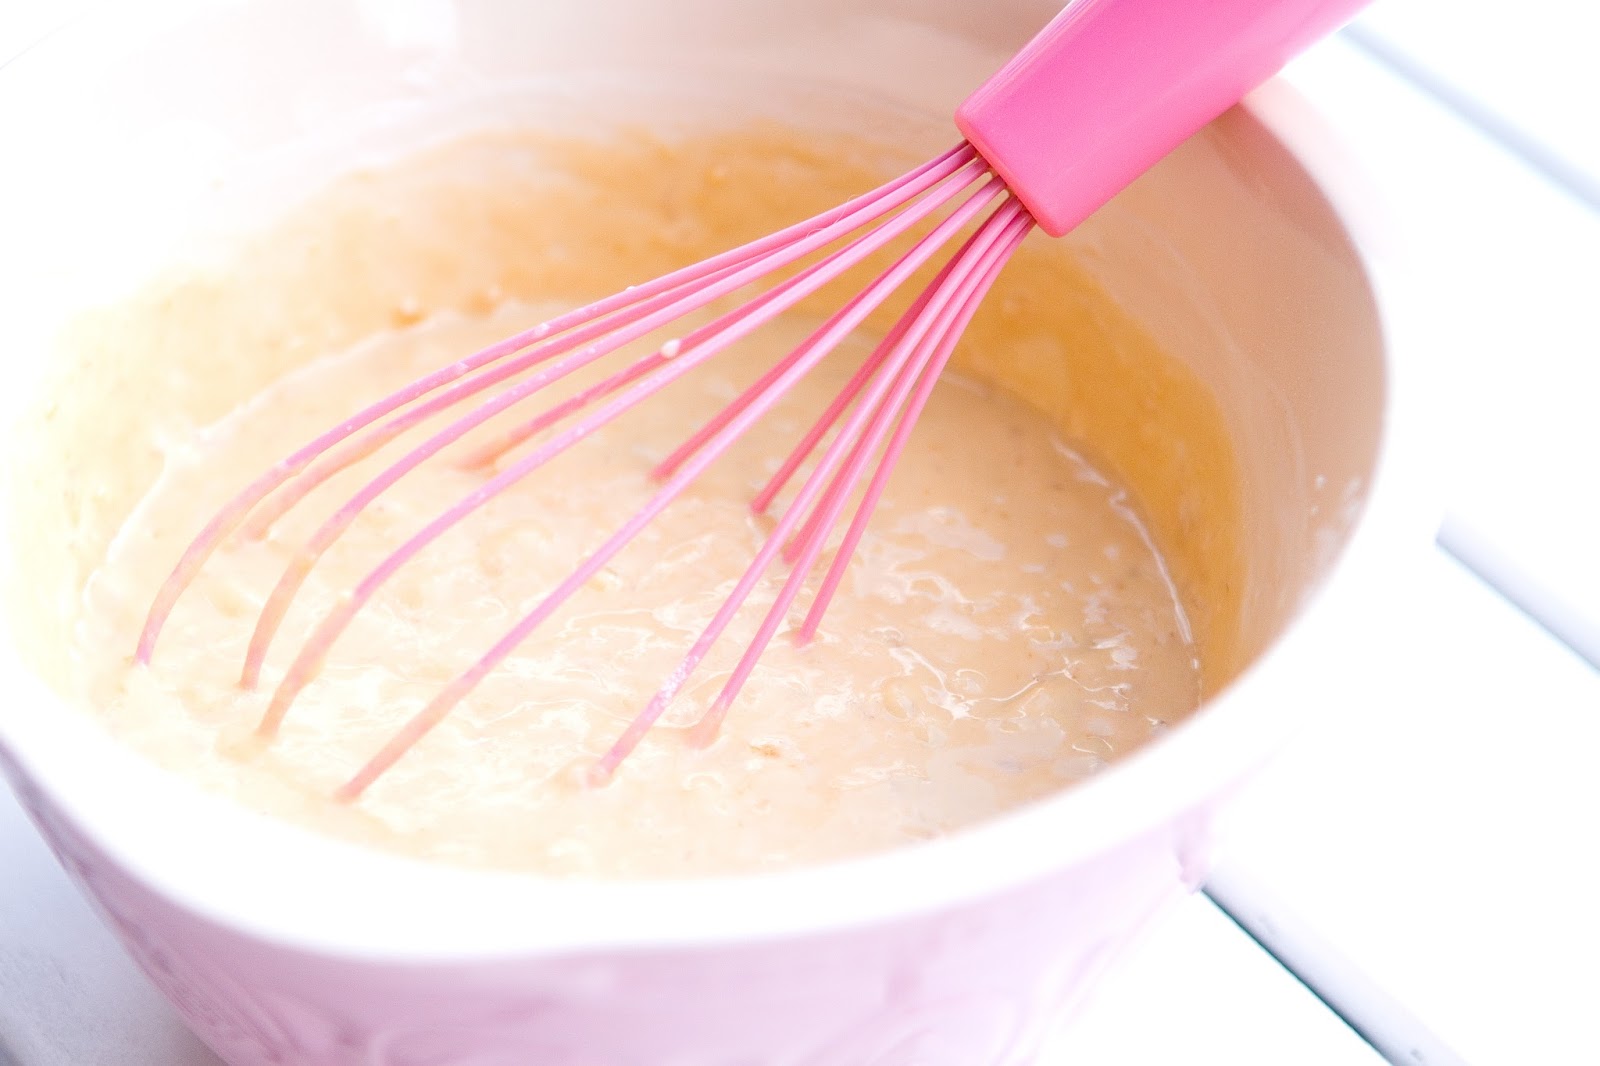
In a large mixing bowl, whip 4 egg yolks with 1 cup caster sugar until thick and glossy.
Fold 2 cups of almond meal and your cooled chocolate mix into the egg yolks.

In another mixing bowl, whip 4 egg whites to stiff peaks.
Fold in 1/4 of the whites to the chocolate-yolk mix to "loosen" it.
Gently fold in the rest of the egg whites, being extremely careful not to knock out all those precious air pockets.

Gently transfer to a springform cake tin and bake at 160 C for about 45 minutes.

Friday, February 05, 2016

Chocolate Mug Cake

Here is my next Valentine's recipe for 2, perfect for a quiet night alone when it's been a long day.

I'm sure there are purists out there who would turn their nose up at the thought of microwave cookery - particularly for making cake, and in a mug of all places!

I love mug cakes for many reasons: 1. I love cake, 2. Very little clean-up, 3. I'm lazy and 4. I don't have to wait so long for cake!


CHOCOLATE MUG CAKE
Into each mug add:
- 3 tbsp self-raising flour
- 2 tbsp brown sugar
- 1 tbsp cocoa
- 1 egg
- 1 tbsp vegetable oil
- 2 tbsp black coffee

Mix together really well with a fork until all the flour lumps are gone.
Microwave on high for 90 seconds.
Every microwave is different so you may need to keep cooking in 15 second bursts.
It is done when the top is set.
Best served with a dollop of Nutella on top!
(And even better with a scoop of vanilla ice cream!)


Friday, January 29, 2016

Strawberry Tart

When I think of "romantic" food, strawberries definitely come to mind. There's just something about lazily swirling the little buds in velvety melted chocolate... then the feeling when it hits your lips. Sweet, warm, rich chocolate first, followed shortly by the piercing of your incisors into cold, sweet, crunchy, with a hint of acid.

No fondue sets to be seen this time though. I have paired the little red beauties with soft crème pâtissière, encased by crumbly biscuit.

STRAWBERRY TART
First, get started on the crème pâtissière.
Mix together 60g egg yolks with 60g caster sugar and 25g cornflour.
(it worked out to be 3 egg yolks for me)
Heat 1 cup of milk with 1 tsp vanilla extract
(vanilla bean paste would be better but I didn't have any)
When tiny bubbles appear on the surface, pour the milk into the egg mix and stir.
Pour back into the saucepan and stir on low heat for about 1 minute.
Make sure the heat is low and that you keep stirring.
Don't worry if it still seems thin - it thickens on standing.
Pour back into the bowl.
Cover with cling wrap, pressing down on the surface to prevent a skin forming.
Pop it into the fridge while you make the pastry.

Traditionally you should use your hands to make this but:
1. I was lazy
2. I wasn't in the mood for getting butter under my nails and
3. Using a mixer (instead of my hot sweaty hands) keeps everything cold...
(at least that's the excuse I'm sticking with)

Add 1 heaped cup plain flour, 1/2 cup icing sugar and 100g chopped butter to your bowl.
 Using the dough hook, mix on high speed until it resembles coarse crumbs.
Add 1 egg then mix again until the dough comes together.
You may need to add more flour.
Wrap your dough in cling wrap and refrigerate for 20 minutes.
Roll out the dough 5mm thick onto a floured surface and cut rounds for your pie dishes.
I managed to stretch this out for 3 dishes.
Blind bake at 180 C for 20 minutes.
Remove baking beads and bake another 10 minutes.
Leave pastry to cool before piping in the crème pâtissière and topping with your strawberries.


Sunday, January 24, 2016

Pavlova

If you hadn't already guessed, I love dessert. As UK food critic Gregg Wallace says, dessert is completely unnecessary - we don't need to eat it to survive. Perhaps that's what makes it so special.

With Australia Day coming soon, and because Australian Valentine's Day falls during summer, I thought it fitting to post a recipe for pavlova for 2.

Many of you may have your own fail-safe secret family recipe, but I just tried making pavlova through trial and error - so please don't judge me too harshly!

PAVLOVA
Mix 2 egg whites on medium speed until frothy, then increase to high and mix until you get soft peaks.
Mixing on medium speed, add 1 cup of caster sugar, 1 spoon at a time.
Make sure each spoon is incorporated before adding the next.
Lastly, add in 1 tsp cornstarch, 1 tsp cream of tartar and 1 tsp vanilla extract.
It will look shiny shiny shiny!
Spoon onto a lined baking tray.
I draw a circle on the paper because without it, my pav would look like a lopsided blob.
I like to shape a bowl area to hold the topping.
I reserved some meringue to pipe into rosettes to add on later.
Bake at 100 C for 1 hr 30 min, then turn the oven off and prop the door open with your oven mitts.
Allow your pav to cool completely before handling.

Whip about 200ml of thickened cream with 1 tbsp icing sugar and 1 tsp vanilla extract.
Top your pav with the cream and any fruit of your choice.
My hubby and I simply got a couple of spoons and dug straight in.

Saturday, January 23, 2016

Banana Pancakes

For my next installment in my Valentine's Day series of recipes for 2, I present a breakfast recipe (yes if you two wake up at 1PM on the weekend, it's still breakfast!) My black bananas usually go to making banana cake - these pancakes are virtually the same recipe as a cake, just with pan-frying instead of baking in a cake tin. I always let the bananas turn absolutely black and festy, to get maximum flavour and sweetness out of them. This recipe yields about 6 pancakes so if either of you are extra hungry, simply double the recipe. Maple syrup is a must.


BANANA PANCAKES
First, mash 1 ripe banana really well.

Make your batter in a bowl:
- Place 1 cup self-raising flour, 1 tsp salt and 4 tbsp brown sugar
- Mix in 50g melted butter and 1 egg
- While mixing, pour in 200ml buttermilk
- Fold in the mashed banana
Fry on low heat until bubbles appear
Carefully flip and cook for about a minute on the other side.

Friday, January 22, 2016

My Happy Birthday

Growing up, I hardly ever celebrated my birthday. A January (summer school holidays) birthday meant one thing - no party. All my friends were likely away on vacation and before the invention of mobile phones and internet, I normally didn't see or talk to them until school started again.

Nowadays as a responsible adult, I see my birthday as an excuse to make cake and drink bubbly with a few close friends. Last year when I turned 30, I thoroughly enjoyed my white chocolate mudcake (you can see photos here) - so I decided to make it again! This time with all the bells and whistles!
.

WHITE CHOCOLATE MUDCAKE
You will need:
- 200g chopped butter
- 250g chopped white chocolate (you can use melts/chips)
- 1 cup caster sugar
- 200ml boiling water from the kettle
- 2 eggs
- 1 teaspoon vanilla extract
- 1 cup plain flour
- 1 cup self-raising flour

Sift the flours together into a large bowl and set aside.
In a double boiler, melt together the butter, chocolate, sugar and water.
Set aside for 15-20 minutes to cool.
Mix in the eggs, one at a time.
Add the wet mix to the flour and gently combine.
Bake at 150 C until a skewer comes out clean.
I divided the mix into 2 round tins and baking time was about 1 hour.

To decorate, I added a touch of pink food colouring to my buttercream recipe you can find here.
Omit the chocolate in the recipe - unless you want chocolate buttercream!

To make the white chocolate drip, I melted 100g chopped white chocolate with 40ml cream.
Simply zap in the microwave for 30 seconds at a time, stirring until it's done.


Tuesday, January 05, 2016

Corn Fritters

In the next few weeks I'm going to try post recipes designed for 2. Valentine's Day is coming up after all! My husband and I don't actually observe the day - we don't buy each other gifts, but I usually cook him something. I use holidays and special occasions as an excuse to make something special!

To kick things off, here is an easy-peasy dish requiring only a few ingredients. Feel free to add whatever you like - chopped capsicum, grated carrot or zucchini, even diced potatoes (if you want more carbs!) I use canned corn because: 1. I'm lazy and 2. you can always keep cans of it handy in the pantry.

It makes a nice starter or can be an accompaniment to your main dish. It's also delicious for a weekend brunch (or breakfast in bed!)

Perfect to top with eggs, smoked salmon, crème fraîche, tzatziki, chives, sprouts, caviar - sky's the limit!

CORN FRITTERS
All you need to feed two (or a hungry one) is:
1 400g can of corn kernels - I used a can of peas and corn
1/2 cup plain flour
1 egg
Milk
 First drain your canned corn (or in this case, canned peas & corn).
You can also use fresh corn - simply boil for a few minutes then cut the kernels off.
 Place the flour and a pinch of salt in a bowl.
Mix in the egg and about 3 tbsp of milk.
Only add a bit of milk - just enough to combine the mixture, because the corn will provide more moisture.
Fold in your corn, then add more milk if necessary.
Cook the fritters just like pancakes, frying a for few minutes each side.


Monday, January 04, 2016

Zucchini Muffins

Zucchini AKA courgette is actually a species of the pumpkin family, I learned today (thanks Wikipedia!) It is also technically a fruit and not a vegetable, botanically speaking.

Now if you're like me and throw a tantrum when you get told to eat your veggies, then try making it better with butter and sugar! Although I do wonder if that defeats the purpose...

These muffins (which you can also make in a loaf/bread tin), only have a hint of sweetness and having them hot from the oven with lashings of butter is a MUST.


ZUCCHINI MUFFINS
You will need:
1 large zucchini, grated
1/2 block unsalted butter
1/2 cup white sugar, 1/2 cup brown sugar
2 eggs
A bit under 250ml buttermilk
2.5 cups plain flour
1 tsp baking power
1 tsp baking soda
1 tsp salt
Combine the dry ingredients and set aside.
Beat together the butter and sugar then add the eggs.
Alternately add the dry ingredients with the buttermilk.
Don't worry if it seems dry - the zucchini will add moisture.
Fold in the zucchini.
Bake in a greased muffin tin for 20 minutes at 160 C.
This recipe yields about 15 muffins.
Because they're not overly sweet, a simple icing glaze of icing sugar and milk is a perfect finishing touch.