Tuesday, October 28, 2014

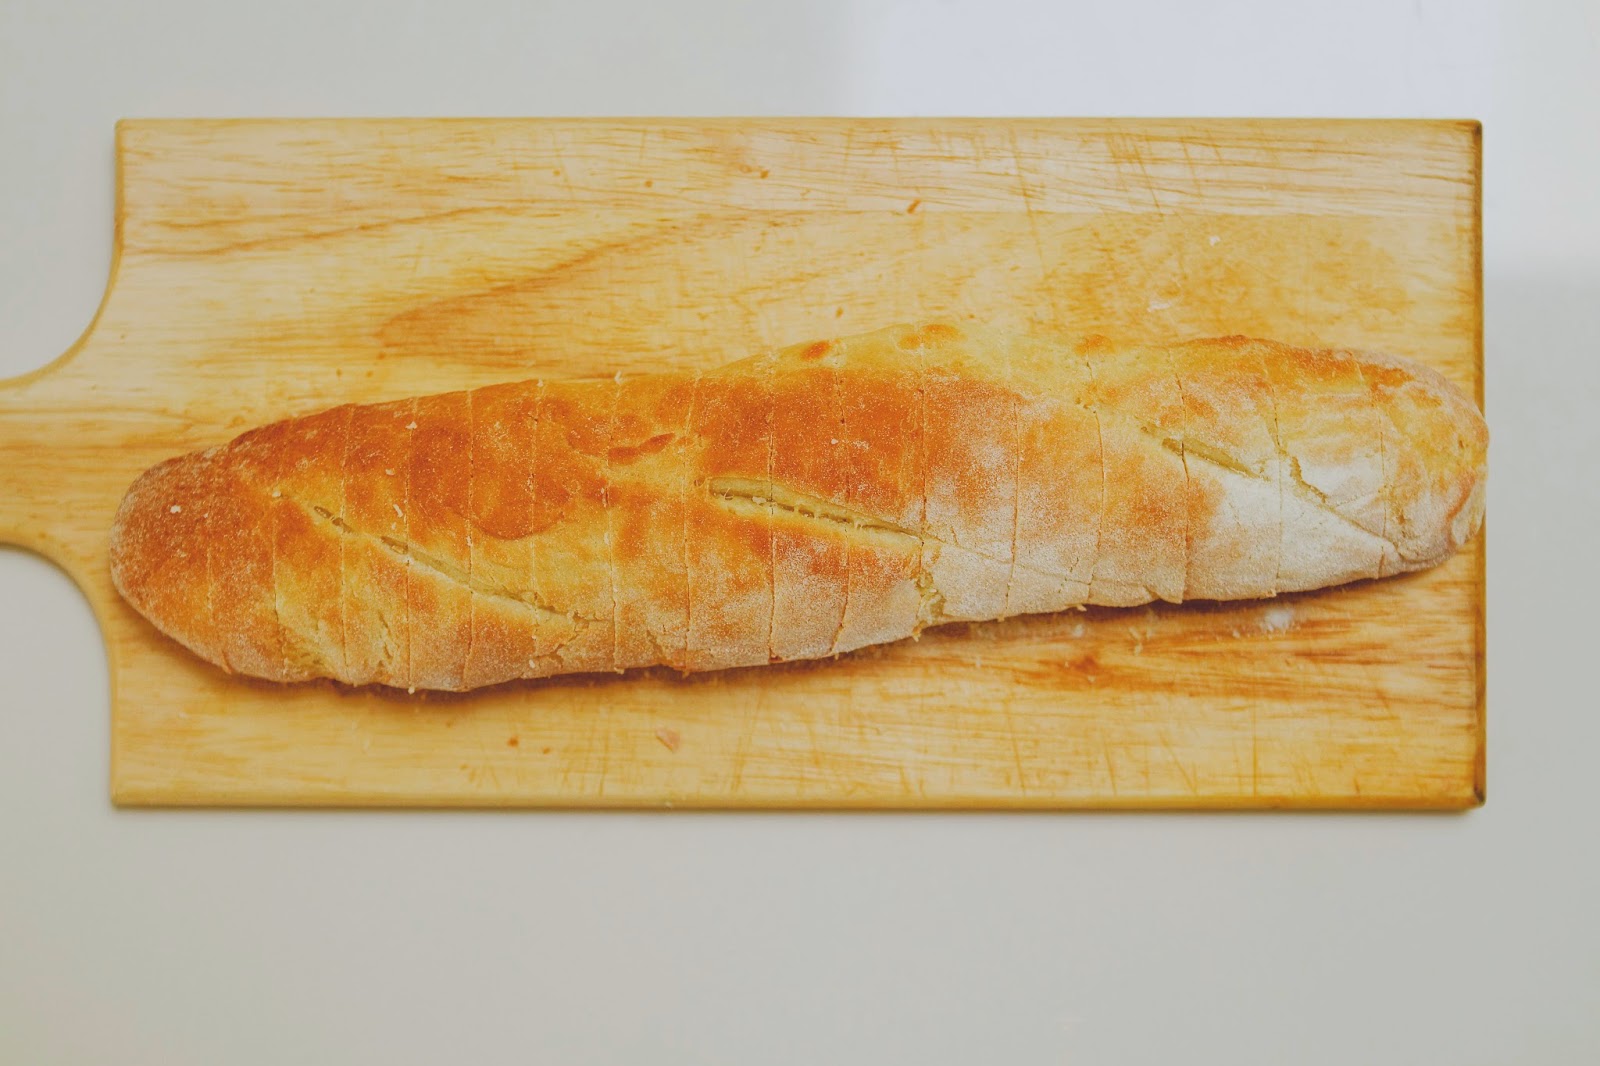
Garlic Bread

Do you have that one random item of junk food that you're really addicted to? That you can never get sick of eating; the one food that you'd still eat no matter how poorly made! For me, that food is garlic bread.

The sinful combination of thick butter, salt and carbs all laced with the heady aroma of garlic (vampires beware) makes me weak at the knees. This snack (or meal on past occasions for me), is widely available too - most restaurants serve it whether it be a pizza place or steakhouse. Once I even found it available at Red Rooster!

The only time I don't enjoy garlic bread - is when it is 95% hard, dry bread with a smear of butter and the garlic barely detectable. I'm sure you would all agree with me on that point.

Now I'm no expert at this, but every time I've tried to make my own, there are never any leftovers to be seen! It is so easy-peasy. You could make the bread from scratch or even use those partially baked dinner rolls you can get at the supermarket. Try it for yourself and see!

GARLIC BREAD
Roasted Garlic
The first thing you should get out of the way is the garlic part.
I take a whole head of garlic and separate the cloves, then place them in a ramekin.
Don't bother taking the skins off. It's one kitchen job that just does my head in!
Place enough olive oil to surround them all - not enough oil will make your garlic hard and dry (and useless).
Roast on low heat - about 120 C for 1 hour.
Once cooled, you will see how easily the soft cloves slide out of the skins.
You can keep the garlic-infused oil for other things (I like to add balsamic vinegar and dip freshly baked bread into it)
The empty skins look like something akin to cicada shells
Bread
This part is not difficult, but is time-consuming purely for the raising time. It's especially easy if you use a stand mixer too! I don't see any crime in not being "artisan" and using a machine. You don't even need to tell your friends.

First, prepare your yeast. I use 1 tablespoon of instant yeast in 3/4 cup warm water and 1 tablespoon of honey. Stir, then set aside for 15 minutes or so.
Mmm yeasty.
Scoop out 2.5 cups of plain flour into your mixing bowl. Add a pinch of salt.
With the mixer on low speed slowly pour in your yeast soup.
Keep on low speed until combined. 
If it looks too "wet" add a bit more flour until it looks more like dough.
Increase to medium speed and leave to mix for about 5 minutes.
Turn your dough out onto a floured surface.
Knead by hand for a bit.
To see if it's ready, press your thumb into the dough.
It's ready when the imprint starts springing back.
Place in a lightly greased bowl and cover with a tea towel. Leave in a warm place for 1 hour.
After an hour the dough will have doubled in size.
Divide the dough in 2 - if you wanna be pedantic, weigh the halves out.
This is probably the most technical part - shaping the rolls.
I shape with my hands into a rectangle and fold it like an envelope - bottom 1/3 up and top 1/3 down. Crimp the seams. Fold and repeat until you get your long roll.

Place on your baking tray, cover with the tea towel and set aside for 30 minutes.
This is when you should preheat your oven to 200 C.
Make 3-4 diagonal slashes with a sharp knife over the tops.
Place the baking tray on the top rack of the oven. 
Immediately after, place a tray containing a handful of ice cubes on the bottom rack. 
This apparently creates steam which makes the rolls "crusty".
Bake until golden - but not TOO golden if you continue on to make garlic bread.
Allow to cool.

Garlic Bread:
Place a healthy dollop (about 50g) of soft butter on your roast garlic with some sea salt.
Smoosh it all together. When mixed, it looks kinda like spew. So don't worry.

Slice your bread roll (without going through the bottom obviously)
Here's the messy part. Spread your garlic spew into each slice.
To make it easy for myself - I don a pair of gloves and use my fingers.
I work with gloves on everyday so it just makes sense to me.
Bake at 200 C again, just for 5-10 minutes.
Yuuuuuuuuuummmmmmm

Sunday, October 19, 2014

Caramel Slice

There's just something about condensed milk, that I have a special place in my heart for it. Could it be my Filipino background? My parents would tell me stories about not having fresh milk available until they came to Australia, and so condensed milk (which will keep indefinitely in an unopened can) was a staple in every Filipino pantry. It is the star ingredient in signature Filipino desserts such as leche flan and even halo-halo (think Filo snow cones). My mother can eat it spread onto "Skyflakes" crackers and I grew up eating it mixed into soft, ripe mashed avocado! So it has now also become a staple in my pantry.

The following recipe is nothing complex, nothing special, but it is nevertheless delicious. It is so common that you find it in magazine clippings and on the back of the can of condensed milk! The humble caramel slice. I like to think of it as a gigantic Twix bar! Growing up in Sydney, the ubiquitous caramel slice was always available to me - train station kiosk, coffee cart, cafe, and from the hundreds of Asian bakeries around town!

CARAMEL SLICE
Melt 1/2 a block of butter.
Combine 1 cup of plain flour, 1/2 cup dessicated coconut and 1/2 cup brown sugar.
Mix in the butter. It will seem like there isn't enough but just keep mixing. It'll come together.
Press into a lined brownie tin. I used a pestle to roll the mixture out into the edges of the tin.
Bake at 160 C for 20-25 minutes (I like it a golden brown colour)
Leave to cool in the tin.

In the meantime, place 2 cans of condensed milk, 100g of chopped butter and 1/3 cup golden syrup into a saucepan. Stir over low heat until everything melts together.
Pour carefully over your cooled base then bake at 160 C again for about 25-30 minutes or whenever the caramel gets a nice tan!
Don't aim for "setting" the caramel - it will still be gooey/wobbly.
DO NOT PANIC! The ugly bubbly/blistery surface will be completely covered in chocolate!

When the caramel is cool, melt some dark chocolate melts in a bain marie.
Add a splash of vegetable oil - this will help make it runny.
The amount of chocolate will depend on how thick you like your chocolate layer - and the size of your tin.
I used a whole packet (250g) to get nearly 1cm thickness. So use less if you like a thin layer.
Pour it over the cooled caramel while still hot - this will help to keep it runny so that it flows evenly to the edges.
Carefully place in the fridge to set.
Use a sharp knife to cut into squares.


Wednesday, October 15, 2014

Cornish Pasties

I actually learned about Cornish Pasties from a dental lecture given by a dentist from Cornwall!

The humble pasty was traditionally baked by miners' wives and taken into the mines as a fast and hearty snack. The crimped border was not eaten, but actually served as a "handle" for the miners to hold whilst eating the pasty. This avoided any poisonous substances on the hands from being ingested. The crimped "handle" was then discarded.

The lecturer spent about half an hour educating us on Cornwall's history - in order to illustrate the dire financial situation of Cornwall's population since the closing of the mines. So basically, telling us the history of Cornish Pasties was a strange and elaborate segue into the lecture topic - cost-effective aesthetic dental treatment.

Let me first confess to you that I did an awful job of making these for the first time!

CORNISH PASTIES
Into a bowl grate 1/2 block cold butter over 250g plain flour and a pinch of salt.
Rub the butter into the flour with your fingertips, until it resembles coarse crumbs.
Add ice cold water, a tablespoon at a time until a smooth ball can be formed.
Wrap in cling film and refrigerate for 20 minutes.

Cut your dough into quarters and roll into "circles" (mine were more like blobs)
Place your filling in the centre. My filling included diced chuck steak, onion, potato and turnip.
Brush the pastry around the filling with 1 beaten egg.
Fold in half to form a semi-circle and crimp the edges.

As you can see I went from abysmal to bad. 
Perhaps making another 300 will perfect my crimping.
Cause you know what they say - crimpin' ain't easy.
Brush with the remaining beaten egg then bake at 180 C for 15 minutes.
Lower the oven to 160 C and bake for another 45 minutes.

Thursday, October 09, 2014

Dinner at the Sydney Theatre Company

Once again Audi Australia treated us to an utterly divine night! This time, dinner was held at the Sydney Theatre Company Loft at Pier 4 in Walsh Bay. It was a dinner to meet and greet the directors and cast of the STC production, "Cyrano de Bergerac" to be released in November.

Matt Moran's Aria provided dinner for the night but first, we sipped champagne and nibbled canapés including king prawns with wasabi-mayo dip, feta cheese tarts and roast beef tarts. This all happened in the backstage/prop area to the STC - illuminated only by a large glowing Audi logo.

I met a few people from previous Audi events, and finally met the wife to Audi managing director Andrew Doyle. She is absolutely lovely! One gentleman looked particularly familiar - kind face, wispy hair, sharp suit. I knew I recognised him - turned out to be Andrew Upton, STC artistic director and husband to Cate Blanchett.

I felt quite chuffed to be able to introduce myself to Andrew Upton and also to Patrick McIntyre (STC executive director) as "Roxanne" - the main female character in Cyrano de Bergerac is "Roxane"! Patrick's immediate reaction was an incredulous "Noooo.... Nooo...." whilst still gripping my hand. The suggestion came up that I could be the understudy for the character :)

Actor Richard Roxburgh (you may remember him from Moulin Rouge!) was also present with other cast members, Bruce Spence and Eyrn Jean Norvill (the actress playing "Roxane").

Photos are from my phone so apologies in advance!
Actor Richard Roxburgh (playing lead role) across the flowers from me
Seared Yellowfin Tuna
Roasted Lamb Rack with Pea & Broad Bean Salsa
Another sneaky pic of Richard Roxburgh
Eton Mess
Petit Fours with Popping Candy!
Andrew Upton, STC Artistic Director

Monday, October 06, 2014

Orange & Poppyseed Cupcakes

I was recently given a bag of oranges. They were a little boring eating them by themselves. I juiced them too. There were still oranges left. So as always, I baked with them. I also decided to take a gay selfie.

I honestly think the addition of poppy seeds to anything is purely decorative (like on bagels). I don't know the history behind the tradition, but I just know that many cultures have been using poppy seeds in baking for centuries.

WARNING: DO NOT CONSUME THESE MUFFINS IF GETTING DRUG TESTED!

Apparently the poppy seeds will show up trace amounts of opioid - think morphine, heroin! So you can't say I didn't warn ya.

ORANGE & POPPYSEED CUPCAKES
Beat together 1/2 a block of butter with 1/2 cup caster sugar.
Beat in 2 eggs, one at a time.
Combine 2 cups self-raising flour with a pinch of salt and zest of 1 orange.
Alternate the addition of the flour mixture with the juice of the zested orange.
Finally, mix in a couple tbsp each of orange marmalade and poppy seeds.
Oops. I thought I had orange marmalade but this is apricot jam. Meh. It's still orange.
The batter is enough for 12 muffin cases. I imagine it'd do 25-30 mini cupcakes.
 Bake at 160C for about 25 minutes. Then cool on a wire rack.

To make the cream cheese icing, beat 125g room temperature Philly cheese with about 2 cups icing sugar and 1 tbsp lemon juice.
Because it was a hot day I put the icing in the fridge for a bit to stiffen up.


Saturday, October 04, 2014

Pecan Pie

I mostly got my introduction to North American food and the concept of Thanksgiving, snowy Christmases with slow roast turkey, gravy and pumpkin pie from my dear husband's Canadian roots. I was fortunate enough to experience a Canadian Christmas for myself a few years ago - an experience I wish I could have over and over again! There's just something so comforting and cosy about huddling together as a family in the room with the Christmas tree because it's too cold outside.

I'll admit, what inspired me to make a pecan pie this time was simply the fact that I picked up a bag of pecan nuts on special! It also gave me an excuse to finally use a pie tin I bought a long time ago. (Slowly getting around to using all the kitchenware I seem to accumulate so easily).

PECAN PIE
First make the shortcrust pastry.
Break up 1/2 block cold butter into 200g plain flour and a pinch of salt with your fingertips.
I use a pinching/feeling motion - pretend you're searching for a diamond you lost in the flour!
I grate my butter as I feel it prevents my warm hands from melting it
The mixture should resemble breadcrumbs
Add 1 tablespoon of ice water to 1 beaten egg then combine with the crumbs.
Gather into a ball then place on a floured surface and pound into a disc shape.
Wrap in cling film and refrigerate for at least 20 minutes.
Roll out the disc to the size of your pie tin then adapt to the tin.
I have never found the need to grease a pie tin - pastry contains so much butter already!
Fill with baking beads or beans or rice and blind bake at 200 C for 20 minutes.

In the meantime, get started on your pie filling.
Into a saucepan add 50g butter, 150g brown sugar and 2/3 cup golden syrup.
(Traditionally corn syrup is used in pecan pie but I don't think the local Woollies stocks that)
Stir over medium heat until everything dissolves.
Try not to burn your tongue as you will be wanting to taste it.
Set aside to cool. Then whisk in 1 tsp vanilla extract and 3 eggs.

Next, scatter your bag of pecans over the blind baked pastry shell.
Please do not waste your time lining them up like an OCD freak - when your pour the syrup on top they're going to all swim away anyway!

Carefully pour the syrup over the pecans.
Bake at 175 C for 35-40 minutes.
You'll find the filling will puff up then collapse when the pie is cool.

Best enjoyed while warm with a nice dollop of whipped cream.