The sinful combination of thick butter, salt and carbs all laced with the heady aroma of garlic (vampires beware) makes me weak at the knees. This snack (or meal on past occasions for me), is widely available too - most restaurants serve it whether it be a pizza place or steakhouse. Once I even found it available at Red Rooster!
The only time I don't enjoy garlic bread - is when it is 95% hard, dry bread with a smear of butter and the garlic barely detectable. I'm sure you would all agree with me on that point.
Now I'm no expert at this, but every time I've tried to make my own, there are never any leftovers to be seen! It is so easy-peasy. You could make the bread from scratch or even use those partially baked dinner rolls you can get at the supermarket. Try it for yourself and see!
GARLIC BREAD
Roasted Garlic
The first thing you should get out of the way is the garlic part.
I take a whole head of garlic and separate the cloves, then place them in a ramekin.
Don't bother taking the skins off. It's one kitchen job that just does my head in!
Place enough olive oil to surround them all - not enough oil will make your garlic hard and dry (and useless).

Roast on low heat - about 120 C for 1 hour.

Once cooled, you will see how easily the soft cloves slide out of the skins.
You can keep the garlic-infused oil for other things (I like to add balsamic vinegar and dip freshly baked bread into it)
 |
| The empty skins look like something akin to cicada shells |
Bread
This part is not difficult, but is time-consuming purely for the raising time. It's especially easy if you use a stand mixer too! I don't see any crime in not being "artisan" and using a machine. You don't even need to tell your friends.
First, prepare your yeast. I use 1 tablespoon of instant yeast in 3/4 cup warm water and 1 tablespoon of honey. Stir, then set aside for 15 minutes or so.
 |
| Mmm yeasty. |
Scoop out 2.5 cups of plain flour into your mixing bowl. Add a pinch of salt.
With the mixer on low speed slowly pour in your yeast soup.
Keep on low speed until combined.
If it looks too "wet" add a bit more flour until it looks more like dough.
Increase to medium speed and leave to mix for about 5 minutes.
Turn your dough out onto a floured surface.

Knead by hand for a bit.
To see if it's ready, press your thumb into the dough.
It's ready when the imprint starts springing back.

Place in a lightly greased bowl and cover with a tea towel. Leave in a warm place for 1 hour.

After an hour the dough will have doubled in size.
Divide the dough in 2 - if you wanna be pedantic, weigh the halves out.
This is probably the most technical part - shaping the rolls.
I shape with my hands into a rectangle and fold it like an envelope - bottom 1/3 up and top 1/3 down. Crimp the seams. Fold and repeat until you get your long roll.
Place on your baking tray, cover with the tea towel and set aside for 30 minutes.
This is when you should preheat your oven to 200 C.

Make 3-4 diagonal slashes with a sharp knife over the tops.
Place the baking tray on the top rack of the oven.
Immediately after, place a tray containing a handful of ice cubes on the bottom rack.
This apparently creates steam which makes the rolls "crusty".
Bake until golden - but not TOO golden if you continue on to make garlic bread.

Allow to cool.
Garlic Bread:
Place a healthy dollop (about 50g) of soft butter on your roast garlic with some sea salt.

Smoosh it all together. When mixed, it looks kinda like spew. So don't worry.
Slice your bread roll (without going through the bottom obviously)
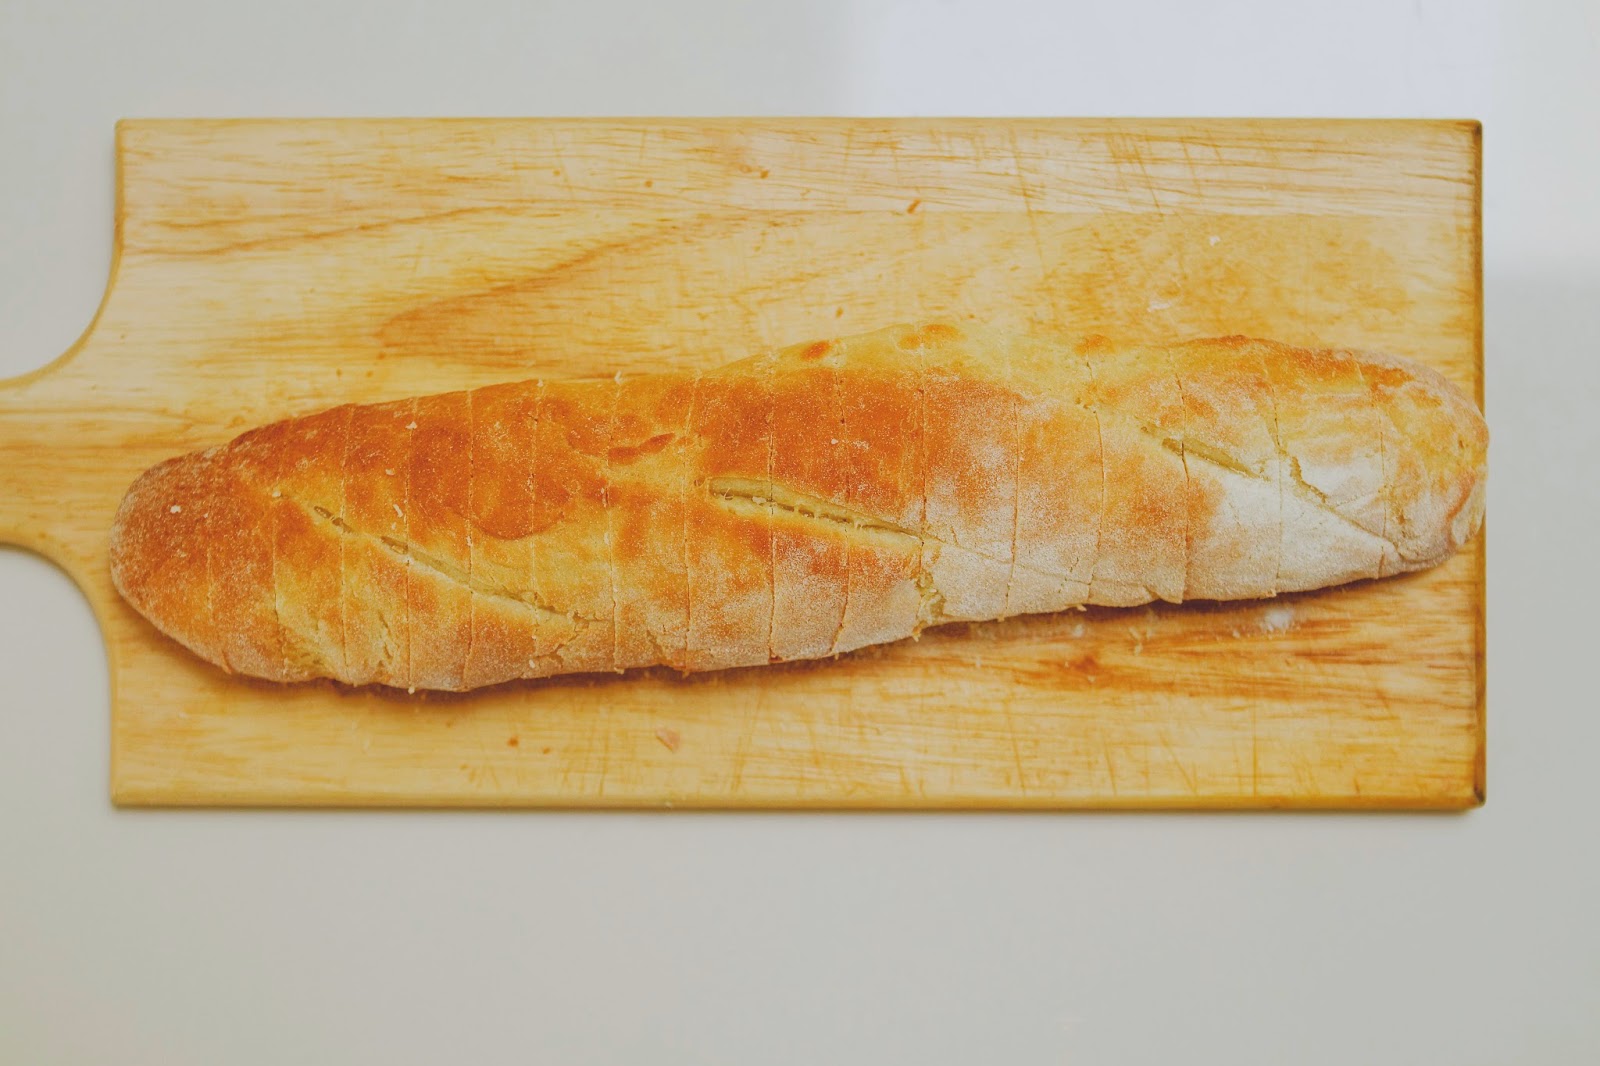
Here's the messy part. Spread your garlic spew into each slice.
To make it easy for myself - I don a pair of gloves and use my fingers.
I work with gloves on everyday so it just makes sense to me.
Bake at 200 C again, just for 5-10 minutes.
 |
| Yuuuuuuuuuummmmmmm |
1 comment:
Looks de-lushus...
Post a Comment