Sunday, November 29, 2015

Choc-Chip Chocolate Cookies

Choc-chip chocolate cookies. Try saying that 3 times fast! I have this weird thing where when I'm eating a white choc & macadamia cookie, I feel a tiny bit annoyed when I bite into a macadamia nut when I think it's white chocolate. I know, it's so weird, but it happens every time! Oh the deception!

So no mucking around with nuts here, I decided to make chocolate cookies with white choc-chips thrown in. White, because milk or dark simply wouldn't look as pretty in photographs! The texture was somewhere between a cookie and a brownie... if you're into that sort of thing!

CHOC-CHIP CHOCOLATE COOKIES
Melt together 150g butter, 3/4 cup caster sugar & 3/4 cup dark brown sugar over medium heat.
Set aside to cool for a minute then add 2 eggs.
While cooling your wet ingredients further, get your dry ingredients.
Combine just under 2 cups plain flour, 4 tbsp cocoa, 1/2 tsp baking soda & 1/2 tsp salt.
If the mixture is too runny, add a little more flour.
Combine the wet & dry ingredients, followed by 1 cup of chocolate chips.
I added the choc-chips after spooning the cookies onto the trays.
I personally like seeing the chips point upwards and hold their shape!
Bake at 160C (fan-forced) for 10 minutes or so then cool on a rack.

Friday, November 20, 2015

Vanilla Cupcakes

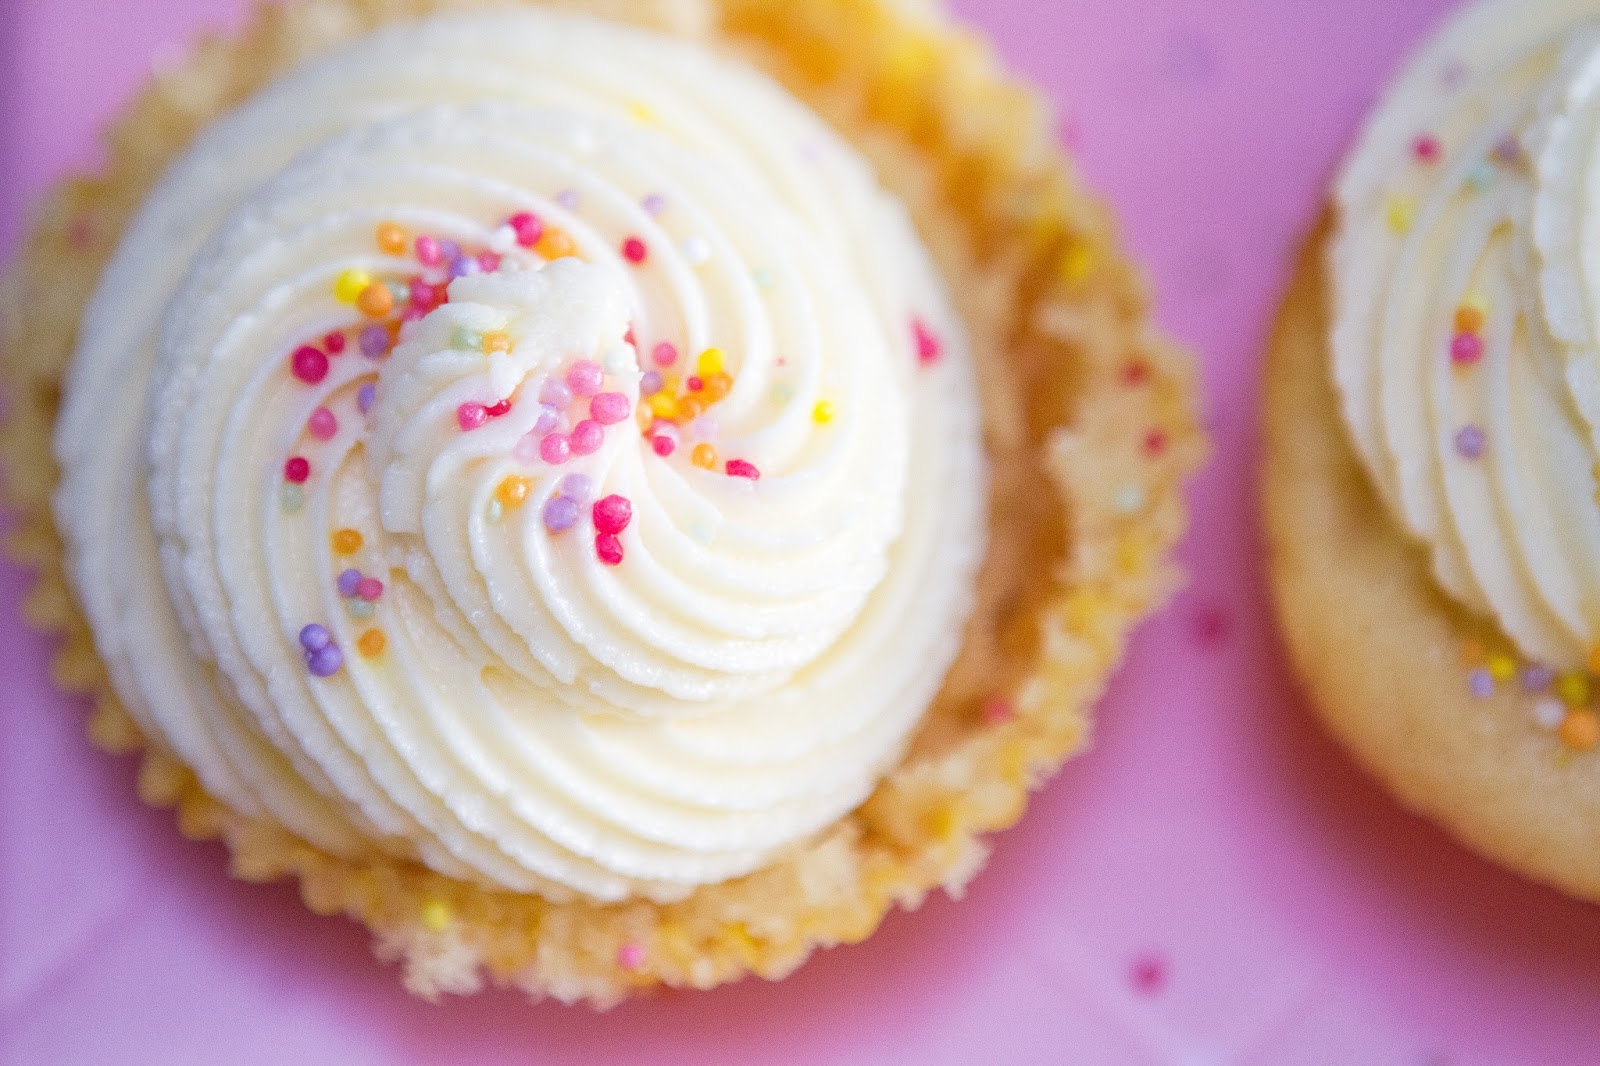
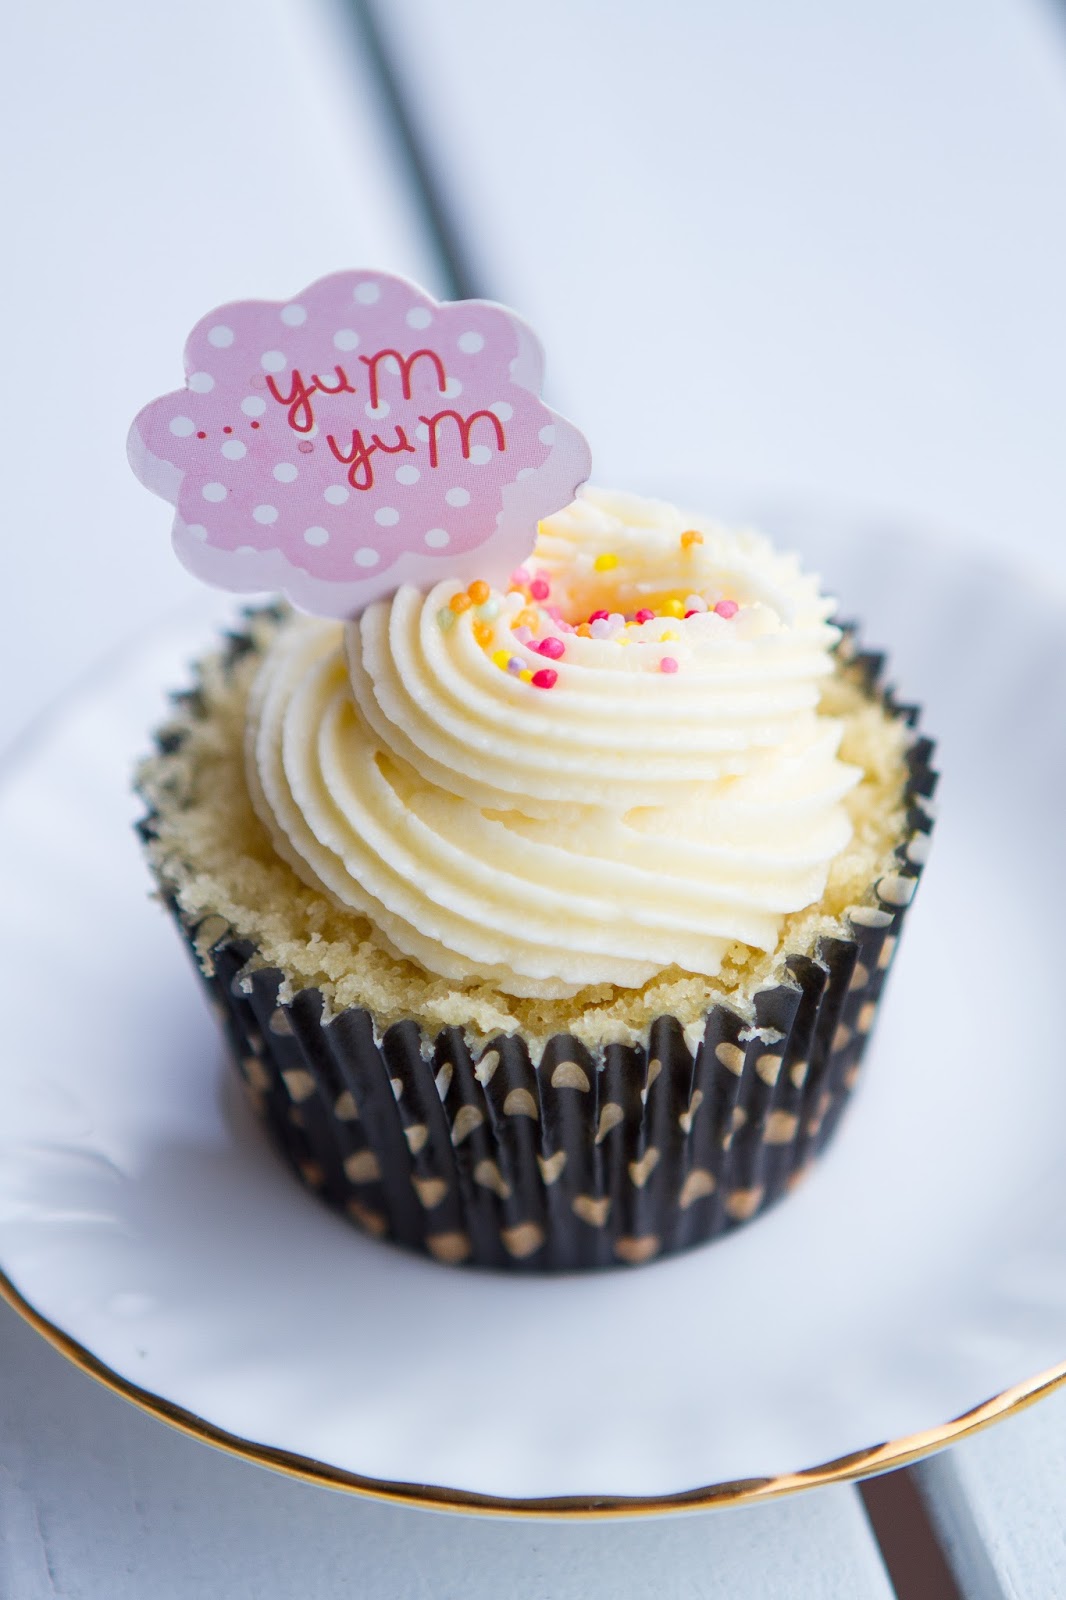
I have a bad habit of wanting and buying things just because they're pink. I also want to eat things just cause they have sprinkles on them (e.g. fairy bread). So I whipped up these babies just so I could put sprinkles on them!

VANILLA CUPCAKES
Beat together 1/2 a block of unsalted butter and 1 cup caster sugar.
Add 2 eggs, one at a time, followed by 1 tbsp vanilla extract.
Alternate between adding 1 and 3/4 cups self-raising flour and 3/4 - 1 cup milk (depending on how dry the batter is).
Spoon into cupcake cases 2/3 full.
Because I was lazy I over-filled the 12 cases in my tin and ended up with muffin tops.
(I had enough batter to make 13 or 14 cupcakes)
Bake at 160 C and check at around 25 minutes with a skewer.
Prior to icing, cut off your muffin tops so you have a flat surface.
This is why not over-filling with batter is so important!

I topped these babies with cream cheese icing.

Simply beat together 1/2 a block of unsalted butter, 1/2 a block of cream cheese (both at room temperature) with 500g icing sugar.
Add 1 tbsp vanilla extract and add a bit of milk if the icing is too stiff.


Saturday, November 14, 2015

Leche Flan

Along the same theme of my last 2 recipes, this is another from my childhood. In fact, it is the very first thing I learned to bake when I was a child. If you are Filipino or know Filipinos - chances are you have eaten this very common, easy to make dessert. Basically, some Filipino decided one day that French crème caramel wasn't unhealthy enough so they decided to super-size it.

LECHE FLAN
In a large bowl gently combine 6 egg yolks, 2 whole eggs, 1 can condensed milk and 1 can evaporated milk.
At this point add whichever flavouring you like - I use 1 tsp vanilla or 1 tsp lemon juice. You can use lemon zest too!
Set aside then make the caramel.

Place about 1/4 cup sugar in a saucepan with just enough water to dissolve it.
Boil over medium heat until the caramel is golden and bubbling.
I personally prefer dark brown caramel.
Carefully pour it into your cake tin.
The next part is a very important step. Pour your egg mix into the cake tin over the caramel THROUGH A SIEVE.
This ensures you have a smooth flan while minimising bubbles.
Cover your cake tin with foil and place into a deep baking tray.
Fill the tray with boiling water halfway up the sides of the cake tin.
Bake for about 1 hour at 150 C. Keep checking until a skewer comes out clean.
Cool to room temperature then place in the fridge for several hours, or overnight.
Run a knife around the edges then carefully flip upside down onto a serving plate.

Wednesday, October 07, 2015

Tsikalang

Following my previous post I am continuing this nostalgic theme of food inspired by my childhood.

When I was in primary school my Lola (Filipino word for grandma) on my mum's side lived with us. She was a gentle, graceful lady; very soft-spoken and excellent with her hands. She used to share her tin of Danish butter cookies with me and my brothers, then would use the tin to store her sewing needles and thread. She would crochet an entire doily with no pattern required, complete it, then unravel the whole thing and start a new one.

After school she knew how hungry we would be, so she would prepare a snack such as this one. My mother's family is from Zamboanga - a city in the south of the Philippines. I'm sure this dish probably has different names depending on what city you're in, but it is based on 2 ingredients: glutinous rice flour and brown sugar.


TSIKALANG
(Pronounced "sick-a-lung")
I used 1/2 a cup of glutinous rice flour to make enough for 1 person.
Place the flour in a mixing bowl. Gradually add water a little bit at a time and keep mixing to form dough.
When you can roll the dough into a ball, it is ready.
Lola used to roll and twist the dough like doughnut twists.
Roll a long sausage, twirl, then pinch to close the end.
Heat about 2cm of vegetable oil over medium heat.
Fry the dough, turning from time to time until golden brown.
Drain on paper towels while you prepare the sugar glaze.
Sprinkle enough brown sugar to cover a frying pan. Add just enough water to dissolve the sugar.
When thick and bubbling, remove from heat.
Place the fried dough in the syrup, turning all over to coat.

Let it cool just enough so it doesn't burn you, then eat immediately!


Saturday, August 22, 2015

Pear Cake

I have pleasant childhood memories of walking to the local Asian bakery with my 2 older brothers with a pocket of loose change. We would search the house high and low to scrape together $2.50 so we could buy an "apple tea cake". There was nothing special about this cake, it was sweet, moist and we somehow never got sick of it.

I had a bag of pears that were ripening too quickly for normal consumption! It made me think of recreating the cake I loved so much as a child.

PEAR CAKE
Skin and dice 2 ripe pears.
When they're ripe it's gonna be messy but this makes for a juicy, sweet, moist cake!

Beat together 1/2 a block of butter with 1/2 a cup of caster sugar.
Add 1 egg.
In a separate bowl combine your dry ingredients:
1.5 cups self-raising flour, 1 tsp baking powder, 1/2 tsp baking soda, 1 tsp cinnamon
Alternate the addition of your dry ingredients with 1 cup of buttermilk.
Gently fold in the pear cubes.
The final consistency should be on the thick side, like pancake batter.
If too thin then the pear will sink to the bottom.
 Bake at 160 C for approx. 1 hour - after 20 minutes I reduced to 150 C to prevent too much browning on top.

Friday, August 21, 2015

Anzac Bikkies

This is my go-to recipe when I’m craving something quick and sweet to have with my cuppa. This is so easy to make and uses ingredients most people have in their pantry.

People often have their own version of the recipe, and you’re either a chewy or a crunchy kid. I personally prefer chewy, but if you want crunchy – just leave in the oven a few minutes longer.

Combine 1 cup plain flour, 1 cup rolled oats and 1 cup desiccated coconut.
Melt together 1/2 a block of butter, 3/4 cup caster sugar, 2 tbsp golden syrup, 2 tbsp water and 1 tsp baking soda.

Combine the wet and dry ingredients.
Place spoonfuls of dough onto lined baking trays.
Bake at 160 C for 11-15 minutes - depending on your colour and texture preference.

Sunday, July 05, 2015

Tourtiere du Quebec

This traditional French-Canadian meat pie brings me back to the first time I tried it in Tadoussac, Quebec, Canada - the day before my wedding. 

It was a cool July Summer evening. The pink sun was drifting away and a cool breeze was wafting into the cottage from the Saint-Laurent River. But it did nothing to cool my nerves. The Oponda and Fry families were meeting for the first time. It was our wedding rehearsal dinner. I did what I always do to cope in dire straits - I ate. There was a large foil tray brimming with what looked like tender, juicy decadence. Someone was saying something about 10-hour slow cooking in Lac Saint-Jean, but it was just background noise. I was busy, absent-mindedly relishing the comfort I found in this food.
Our rehearsal dinner spread
L-R Auntie, Mum, Dad
I'll take some pasta bake with my tourtiere
hubby and my father-in-law
Two families becoming one
Canada Day 2015 was my second time attempting to make Tourtiere. My take on it though is the speedy version. Using minced meat instead of cubed, cuts cooking time from 10 hours to 2.

TOURTIERE DU QUEBEC
Pastry
Sift 500g plain flour and 1 tbsp salt into a large bowl.
Get ready to get your hands dirty.
Dice a whole cold block of butter. Massage it into the flour with your fingertips.
When the mixture looks like breadcrumbs, gradually add 1/2 cup icy cold water.
Use less or more depending on how sticky the dough is.
Form a ball, then knead on a floured bench until smooth.
Wrap in cling film and refrigerate.
In the meantime get started on the filling.
Into a large pot place 1 chopped onion, 1 chopped potato and about 1kg of mince.
I used beef mince. 
Traditionally pork and veal is used, and in Lac Saint-Jean game meat such as venison, rabbit and moose is used!
Add a teaspoon of cinnamon, nutmeg and ground cloves.
Cover with water to just cover the meat.
Place on a low simmer, stirring from time to time until the water is absorbed - about 2 hours.
Taste and adjust seasoning.
Roll out your pastry from the fridge to about 3mm thickness and line a pie dish or tin.
Laziness stopped me from blind-baking the crust which resulted in a bit of a soggy bottom.
Blind bake your crust! 15 minutes at 200C should be enough.
Scoop the filling into the pie crust.
Pop the lid on, pinching the edges to seal. Cut some ventilation slits in the top.
Brush with 1 beaten egg and you can use excess pastry to decorate the top like I did with this free-hand maple leaf!
Bake at 180C until the crust turns golden brown (about 20 minutes)
Tourtiere du Quebec and Tarte au Sucre (sugar pie)